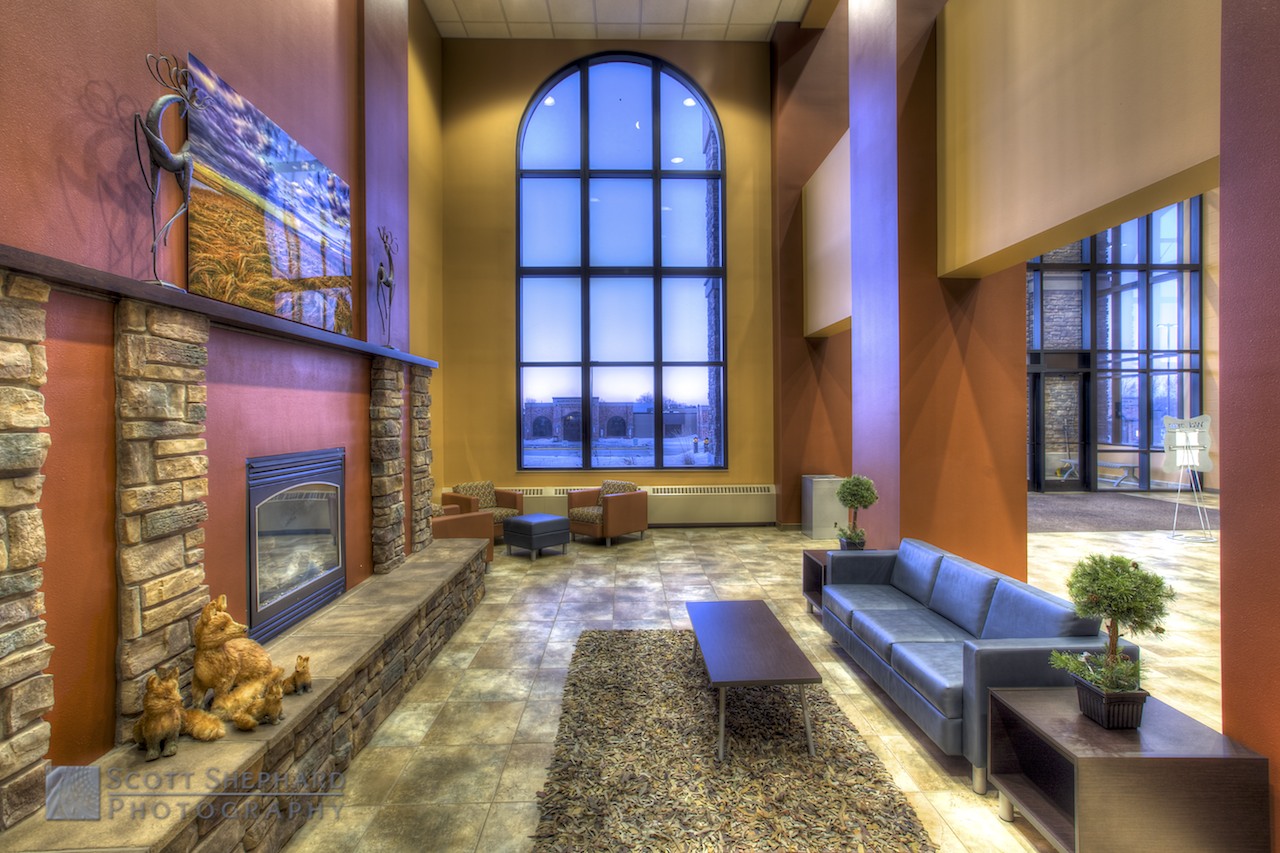
Much has been written about HDR photography and there are hundreds of HDR tutorials online. But if you are a photo enthusiast who isn't interested in complex technical details, today's post may be just the ticket!
What Does the Camera See?
Below is a photo that I took recently of Iron Creek in the Black Hills of South Dakota. Photographically, this scene is very complicated because of the broad range from darks to brights. Snow is especially difficult to photograph because though there is texture in a mound of snow the camera can't "see" it very well while at the same time showing detail in the darker part of the frame
HDR of Iron Creek - Four Separate Exposure Blended into One (Click to enlarge)
In this photo you are actually looking a four separate exposures that were "bracketed" in camera. Bracketing is a term used to describe the capturing of the same scene multiple times with intentionally under and overexposed shots. Bracketing is generally used when you want to get the perfect exposure but don't trust that the built-in meter will get it right on the first try.
Bracketing?
So here are the four bracketed exposures I took of this scene (uncropped).
Four bracketed exposures of the same scene ranging from underexposed to overexposed. (Click to enlarge.)
The one on the left is clearly too dark. But it does show shading in the snow. And the one on the right is clearly overexposed but notice the detail you see in the water and rocks. And noticed the blurred, falling snow. Finally, the exposure that is second from the left is how the camera meter "thought" the scene should be exposed. Frankly, it's pretty bland.
The first step in taking an HDR photo, then, is to bracket several exposures. Three exposures generally provides pretty good results but I've used as many as 9.
Voila! The Last Step In the Process
The final output using Photomatix.
The second and final step is importing the photos into software that is designed to combine the photos and leave the best parts of them for the final product. The software that I use the most is Photomatix, but there are others available. And with a little tweaking, you end up with something that looks like this
The snow has texture, but the rocks and their color are visible beneath the water. And I also like how the falling snow is blurred but visible in this photo.
What Is Reality?
Is HDR "real" photography? Without getting into the heavy stuff today, I would assert that no photo is "real" in that when you look at a photo, you are really seeing millions of colored and shaded squares (or dots if it's a print). And a photo is flat. And we all know that the world is not flat.
So an HDR photo is as real as any other. The temptation we have with HDR software is to apply strange and marvelous software filters to our photos (click for an example). My own philosophy is that the primary goal of HDR photography is to cover the range of shades in a scene without having the photo look over processed. Though I sometimes use filters, I teach my students that software filters are fads and we all know where fads go. Consider bell bottoms, pet rocks, mood rings and Cabbage Patch Kids. . . .
What do you think? Do you like HDR photos? (Or bell bottoms, pet rocks and Cabbage Patch Kids?)


